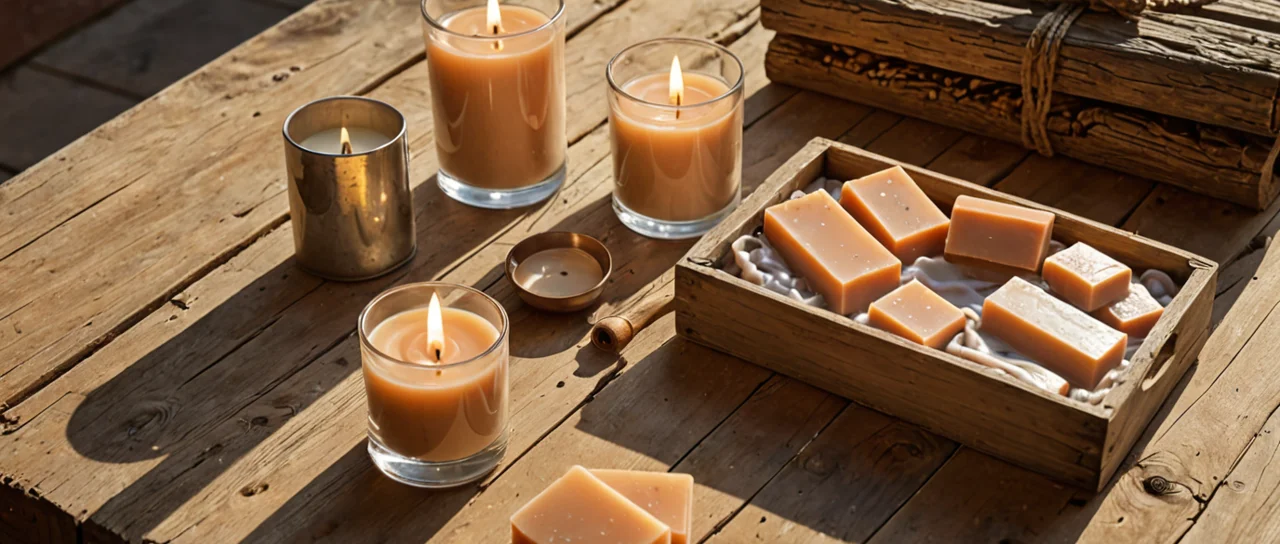
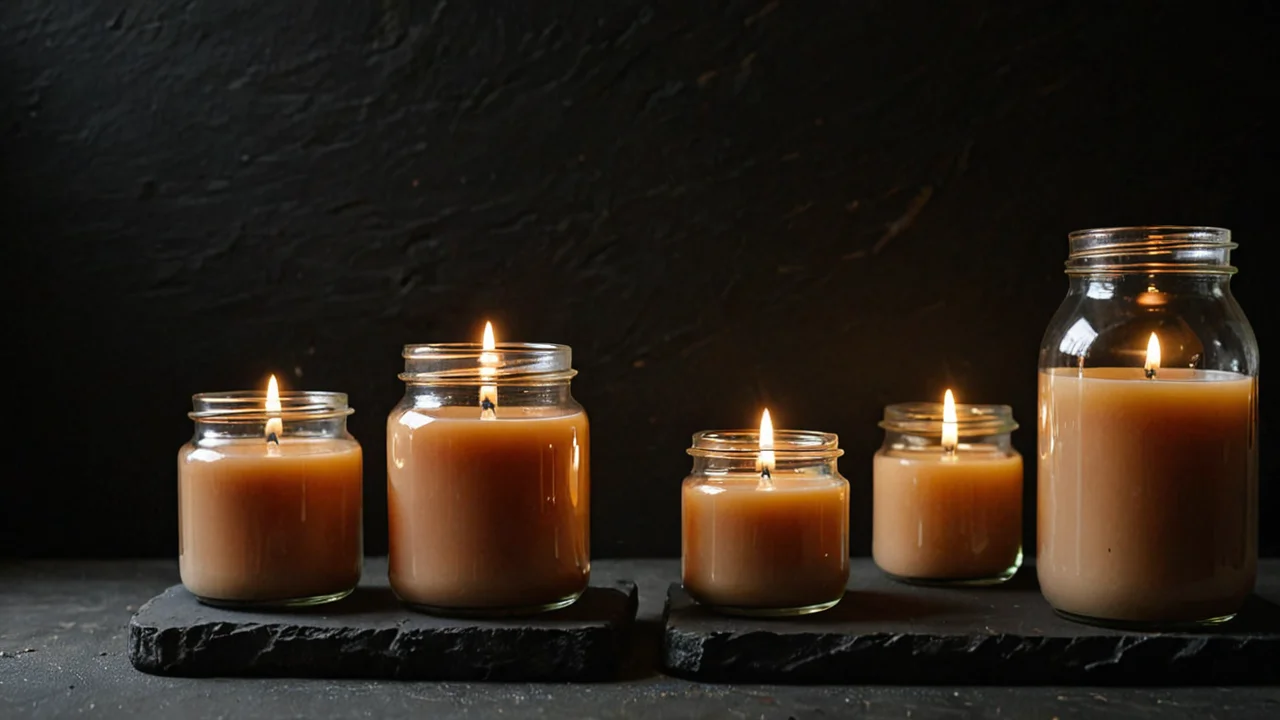
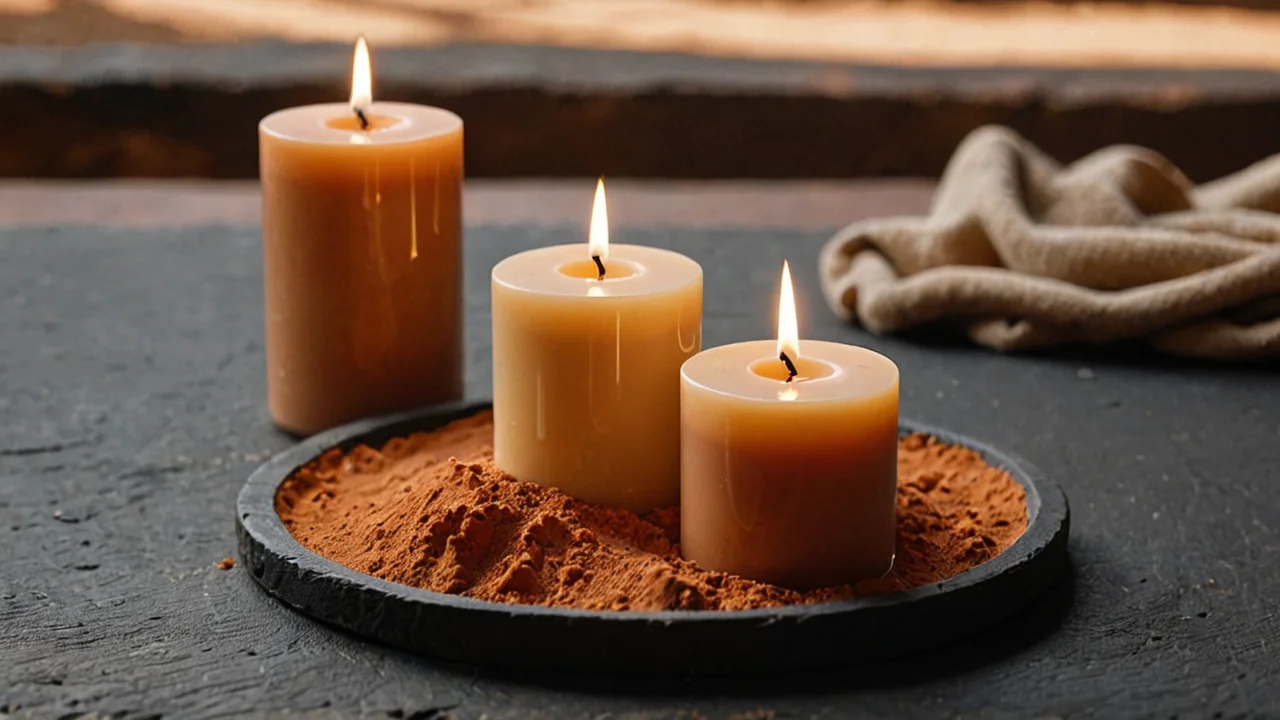
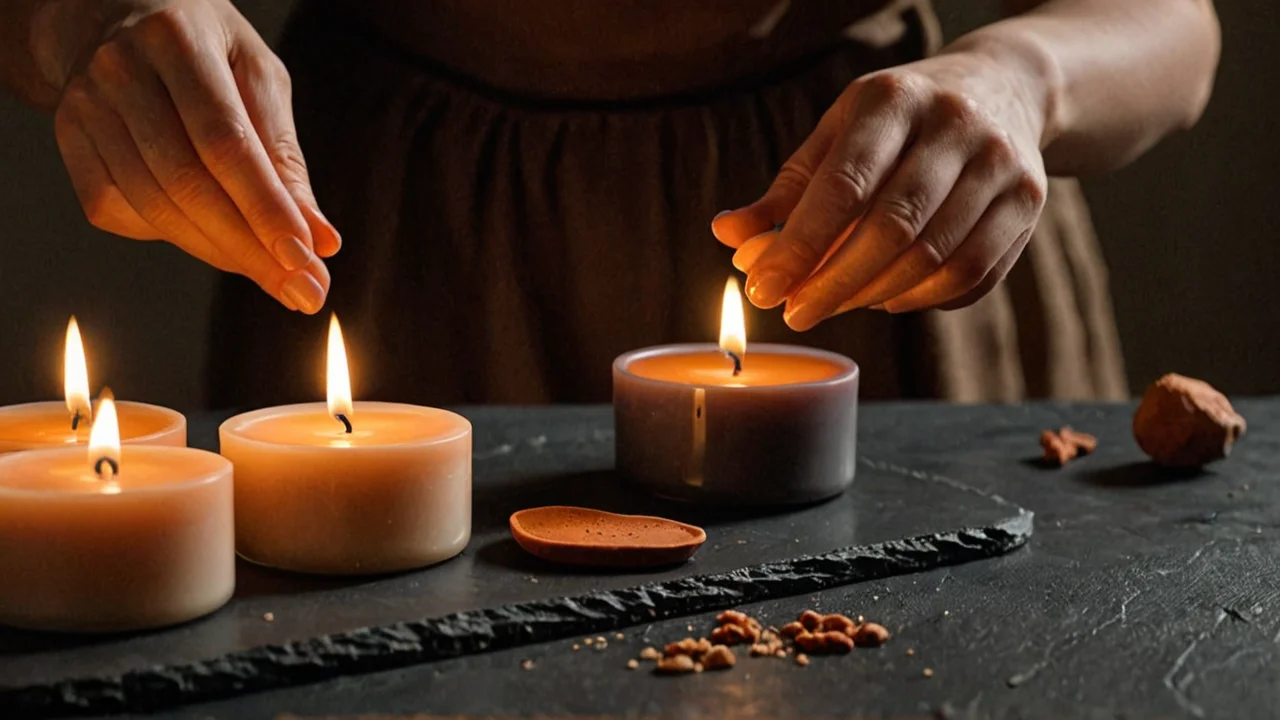
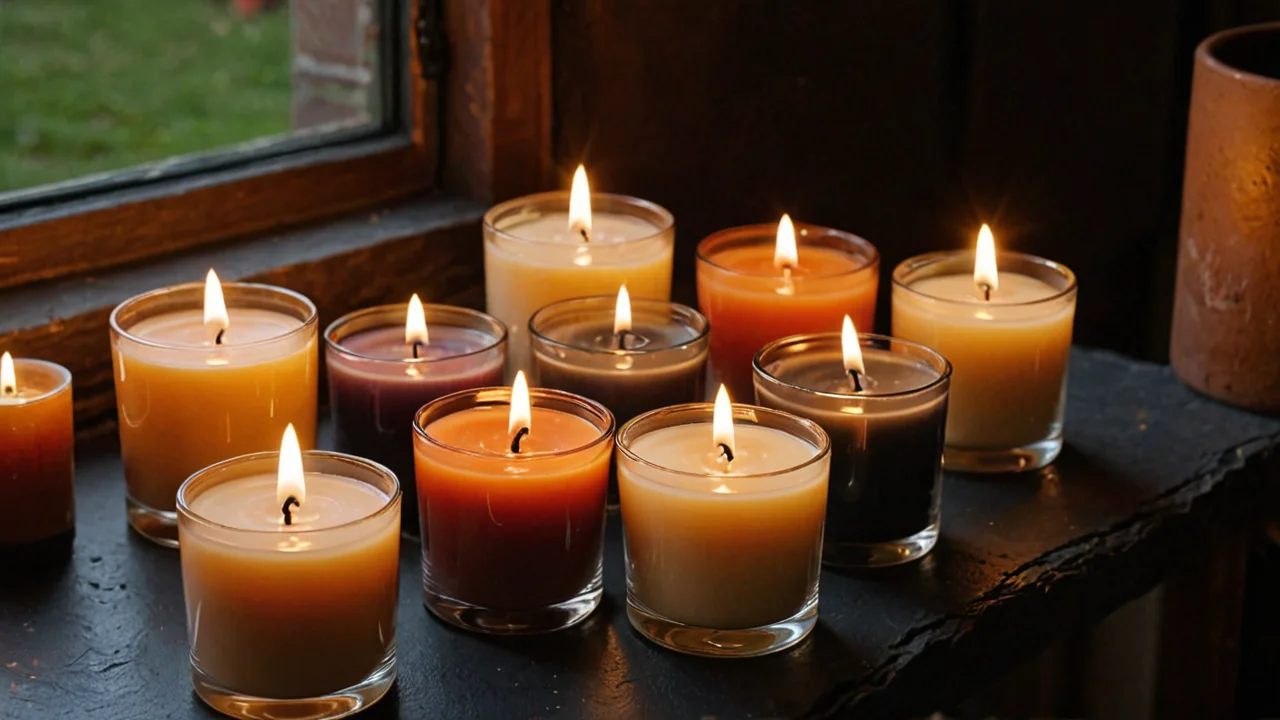
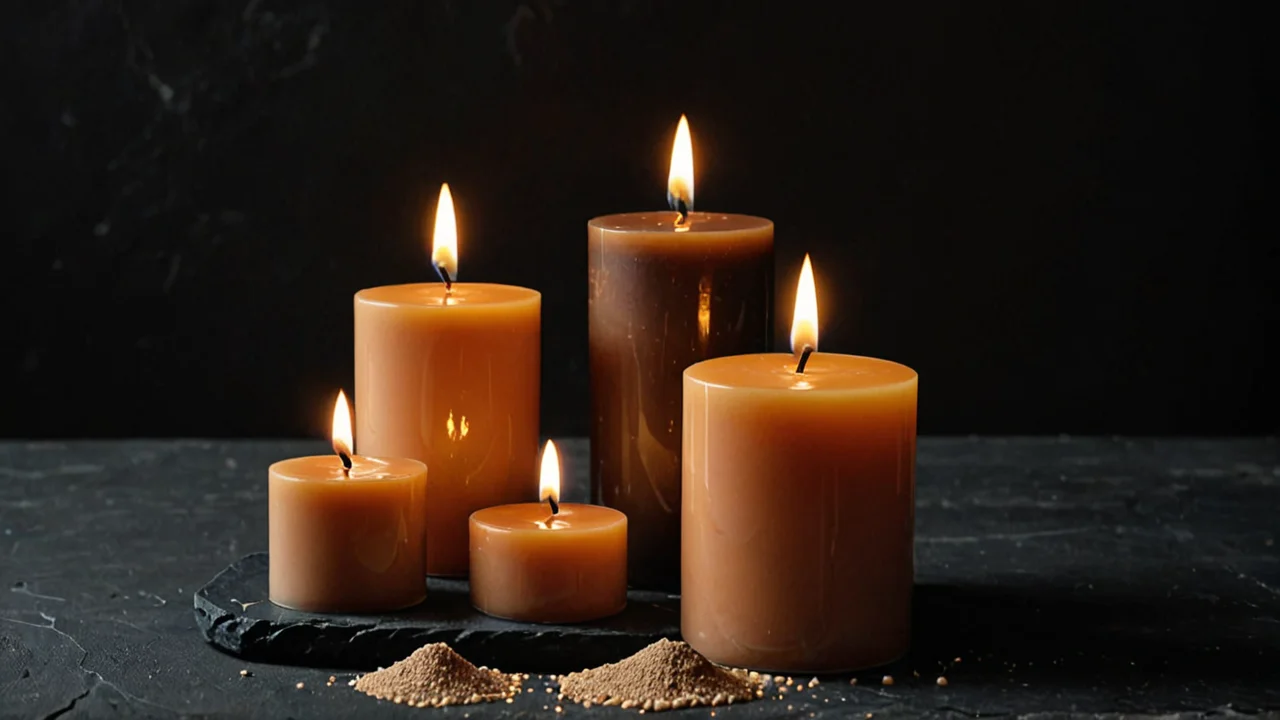
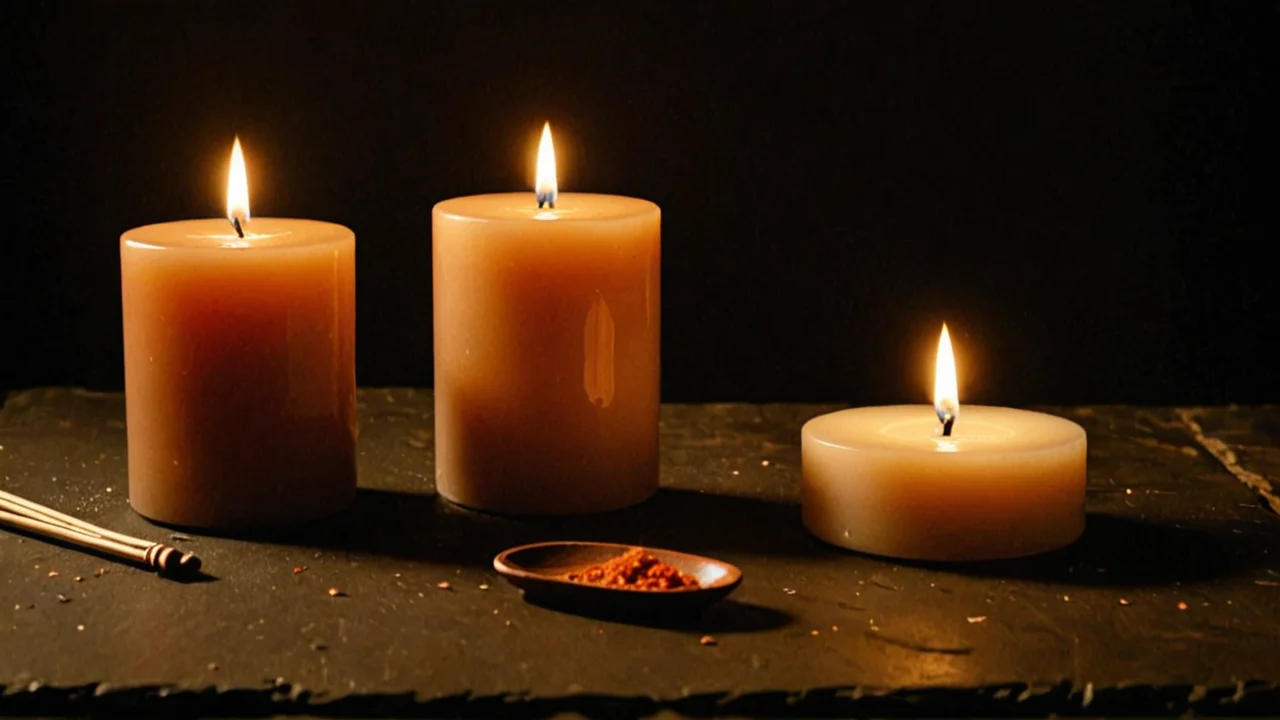
The two numbers that decide most supply choices in candle and soap making are the flash point of anything you melt and the cure time of anything you pour. Candle waxes carry flash points above 200 °C (392 °F) in the general case, and a common paraffin-based wax is listed at over 204 °C (400 °F) with an autoignition temperature near 750 °F. Fragrance oils are the weak link: industry guidance says to avoid fragrances with a flash point below 60 °C because they raise fire risk in a finished candle. Everything else — wick sizing, mold material, lye concentration, cure windows — is a decision about matching a supply to a method, and the method to what you can safely handle in your space.
Read the safety data sheet before you read the product page
The SDS is the only document that tells you what a wax or fragrance actually does when heated, and it is the first thing to pull for any new material. Flash point is the temperature at which a liquid or wax gives off enough vapour to ignite in air near an ignition source; autoignition temperature is the point where it ignites with no flame or spark at all. For wax, that second number sets the ceiling on your melter. A wax with an autoignition temperature around 750 °F is not going to catch fire on a double boiler, but it tells you what happens if a thermostat fails or a pot runs dry on a direct heat source.
Wax flash points cluster well above working temperature, which is why double-boiler melting is the standard method rather than a cautious one. General industry guidance puts candle wax pools above 200 °C (392 °F) when no low-flash-point additives are present; one manufacturer lists flash point at or above 250 °C with autoflammability around 350 °C. A closed-cup test on a commercial wax candle product came back above 399 °F. You are melting in the range of hot water and pouring well below any of those figures, so the wax itself is not the hazard in a normal setup. Fragrance is.
Fragrance flash point is measured differently from wax and behaves differently in the pot. A fragrance with a flash point under 60 °C should be avoided in candles under industry association advice, because the low-boiling components that give it that number also make the finished candle more likely to flare. That does not mean a fragrance at 65 °C is safe and one at 55 °C is not — the guidance is a floor, not a guarantee. What it does mean is that when you are choosing between two scents and one has a much lower flash point, you are choosing a different risk profile, not just a different smell. Add fragrance to wax that has cooled below the fragrance's flash point, stir gently, and never add it over an open flame or a bare element.
The trade-off is real: some of the most interesting top notes — citrus, certain aldehydes, light fruits — come in low-flash-point fragrances, and reformulating around a high-flash-point version changes the scent. If you sell, the SDS for every fragrance you use belongs in your records regardless of flash point; if you make only for yourself, keep the sheets anyway, because they are how you answer the question "what is in this" when someone asks.
Wax choice sets everything downstream of it
Pick the wax by the product, not by the wax. Container candles want a softer wax that adheres to glass and burns evenly in a narrow vessel; pillars and votives want a harder wax with enough structural strength to stand without a container; wax melts want something that releases scent strongly at low melt temperature and does not need to burn at all. Paraffin, soy, coconut, palm, and blends each sit somewhere different on that map, and the blend ratios sold as "container blend" or "pillar blend" exist because formulators already did the work.
What each choice costs you: soy and other vegetable waxes often need a longer cure before the scent throws well, can frost or sweat in temperature swings, and may need a second pour to fill a sinkhole at the wick. Paraffin throws scent readily and takes color cleanly but is a petroleum product, which matters to some buyers. Coconut wax blends pour beautifully and burn slowly but cost more per pound and are softer than the label sometimes suggests. None of these is a defect — they are the terms of the deal, and a maker who knows them stops fighting the wax and starts designing around it.
The step most beginners skip is a test burn before committing to a batch. Pour a small container, wick it, cure it for the length the supplier recommends, and burn it in sessions of a few hours at a time, watching for tunneling, soot, mushrooming, and how far the melt pool reaches. A wick that is too small tunnels; too large and the candle burns hot, smells of scorched fragrance, and can crack the glass. Wick sizing depends on wax, fragrance load, color, and vessel diameter together, so the supplier's starting recommendation is a starting point only. Keep a note of what you changed between pours, because the second batch is where you learn something.
Temperature discipline during the pour is the other half. Melt to the temperature the wax supplier specifies, add fragrance at the temperature they specify, and pour at the temperature they specify — these vary enough between products that a generic number from a forum will cost you a batch. Stir slowly to avoid whipping air in, and pour steadily. If the top sinks as it cools, a second pour at a slightly warmer temperature fills it.
Soap supplies split into two methods before anything else
Cold process and melt-and-pour are different crafts sharing a shelf. Cold process means handling sodium hydroxide — lye — which is caustic in the bead and in solution, reacts with the fats to saponify, and requires goggles, gloves, long sleeves, and a ventilated space. Melt-and-pour means melting a pre-made base, adding color and fragrance, and pouring into a mold; no lye, no cure of weeks, usable the same day. The supply list for each is short and specific, and buying for the wrong one is the most common way a beginner wastes money.
For cold process you need: a scale accurate to the gram, because lye is measured by weight and never by volume; separate containers and utensils for lye and for oils, never shared with food; stick blender; thermometer; molds; and the oils and butters you have chosen. Lye concentration and water discount are recipe decisions that change how fast the batter traces and how hard the bar cures — follow a published recipe exactly for your first several batches before adjusting anything, because the superfat and lye ratios are not places to improvise.
For melt-and-pour you need: a pouring pitcher or a heat-safe measuring cup, a scale, a thermometer, molds, color, and fragrance. The base itself determines the feel of the bar — clear bases, goat milk bases, shea bases, and olive oil bases all behave differently in the mold and on the skin. Fragrance and color have usage rates set by the supplier, and exceeding them can seize the base or leave it soft. The trade-off is honest: melt-and-pour costs more per bar in materials and gives you less control over the recipe, and in exchange it removes lye handling and the cure wait entirely.
Whichever route you take, cure is not optional in cold process. Bars need weeks on a rack with air circulating around them to lose water and harden; cutting them too early gives ragged edges, and using them too early gives a soft, short-lived bar. The exact window depends on your water discount and climate, and your recipe will tell you what to expect.
Molds, wicks, and vessels are where the small money goes
Buy molds for the method you are actually using. Silicone is the default for melt-and-pour and wax melts because it releases cleanly and tolerates the pour temperature; rigid plastic and metal molds suit cold process, where the batter generates its own heat and a silicone mold can insulate too well and overheat. For candles, glass containers must be rated for candle use — a jar not designed for heat can crack — and the wick is chosen to the vessel's inside diameter, not to the outside. Wick series differ in how they curl and how hot they burn, and the same size number in two series is not interchangeable.
Thermometers are worth spending on. An instant-read or infrared thermometer lets you hit the pour and add temperatures your wax or base specifies, and a cheap one that reads several degrees off will make every batch inconsistent in a way you cannot diagnose. A scale that measures to the gram does the same job for soap and for fragrance loads. These two instruments plus a stick blender and a dedicated set of pitchers cover most of what a small maker needs.
The costs that surprise people are the consumables: wick stickers and sustainers, pour pots that get dedicated to wax, pipettes for fragrance, gloves by the box, and the fragrance oils themselves, which are priced per ounce and add up fast when you are testing several scents. Buying small quantities of several fragrances to test before committing to a larger bottle is cheaper than buying a pound of something you turn out not to like in wax. The same logic applies to color: a few drops of liquid dye or a small amount of mica goes a long way, and a sample set tells you more than a full-size jar of one shade.
Storage is a supply decision too. Fragrance oils and waxes want a cool, dark place away from heat, and lye wants to stay dry and sealed — it pulls moisture from the air and turns into a hard cake. Keep lye in its original container, labeled, out of reach of children and pets, and never store it in anything that looks like a food container.
Where the ideas come from, and what they cost to test
The best source of new product ideas is your own test log. Every batch where the scent was too weak, the color faded, or the wick tunneled is a specific, answerable question, and answering it produces a better product than copying someone else's recipe. Suppliers publish starting formulations for their own waxes and bases, and those are the most reliable place to begin because the numbers are matched to the material you bought. Beyond that, the useful inputs are other makers' published test results — wick recommendations by vessel diameter, fragrance usage rates, cure times — and your own notes on what changed between pours.
Test in the smallest batch that still tells you something. A single container candle or a single bar is enough to answer a wick or fragrance question, and it costs a fraction of a full batch. Change one variable at a time: if you change wax, wick, fragrance load, and pour temperature together, a good result tells you nothing you can repeat. The discipline is dull and it is the whole game.
What testing costs is time more than money. Candle cure and soap cure both impose waiting periods you cannot shorten without accepting a worse result, and the temptation to skip them is where most disappointing first batches come from. A candle burned before its cure is finished will throw less scent than it will later, and a bar used before it has hardened will dissolve faster than it should — both read as a bad recipe when the recipe was fine.
How to sequence your first purchases
Buy for one product and one method first. Choose either a container candle, a wax melt, a melt-and-pour bar, or a cold process bar, and buy only what that product needs: the wax or base, one fragrance, one wick size in a small quantity or one mold, a thermometer, a scale, and the safety equipment the method requires. Make one batch, burn or use it, and write down what you observed. The second purchase is decided by what that batch told you, not by a shopping list assembled in advance.
The sequence matters because supplies are interdependent. A wick bought before the vessel is chosen may be the wrong diameter; a fragrance bought before the wax is chosen may not throw in it; a mold bought before the method is chosen may be the wrong material. Buying in the order the product is actually built — vessel, wax, wick, fragrance, then the tools — keeps you from owning a shelf of things that do not fit together.
Safety equipment comes first in the budget, not last. For cold process that means goggles, gloves, and a dedicated set of containers; for candlemaking it means a double boiler or a melter with a thermostat, a thermometer, and a clear workspace with nothing flammable near the heat. A fire extinguisher rated for the materials you are heating belongs in the room. None of this is expensive relative to a failed batch, and all of it is cheaper than the alternative.
Once one product works repeatably, the second product is usually a variation rather than a new craft: a different fragrance in the same wax, a different vessel in the same wick series, a different color in the same base. That is where a supply shelf starts to earn its space — when each new item is a small extension of something you already know how to make, rather than a new method with its own tools, temperatures, and safety rules.