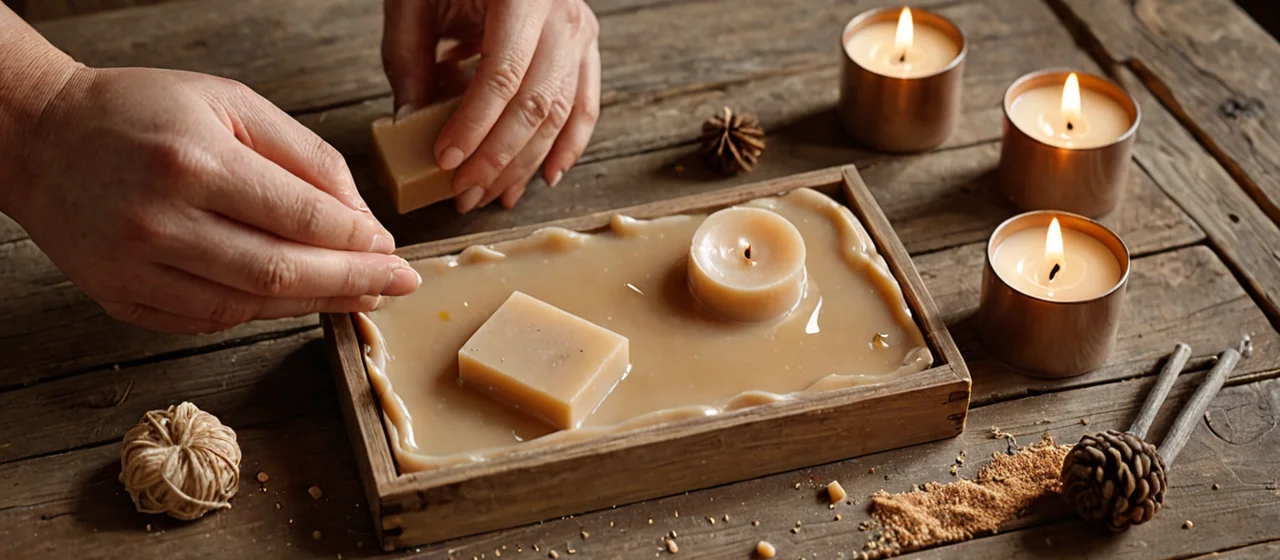
Candle making and soap making are both exercises in controlling heat, chemistry, and timing, and the technique you choose for each step determines nearly everything about the finished bar or candle — how it looks, how it wears, how it smells, and how safe it is. Neither craft rewards improvisation the way cooking does. The materials have flash points, the chemical reactions have windows, and the cure times are not negotiable. What follows is the full landscape of decisions, in the order you actually make them, with honest costs attached to each.
Choosing your process: melt-and-pour versus cold process versus hot process
Cold process is the default for serious soap makers because it gives you full control over the recipe, the superfat, and the additives, and it produces a bar with a crystalline structure that melts slowly and lasts. You combine lye solution and oils at roughly room-to-warm temperatures, blend to trace, pour into a mold, and then the soap sits in the mold for a day or two before you cut it. The catch is the cure: cold process bars need a cure period measured in weeks, not days, before they become the hard, mild bar you intended. During that time water evaporates and the saponification finishes. Skip the cure and you get a soft, short-lived bar that dissolves in the shower.
Hot process cooks the same chemistry through to completion before you mold it. You gain speed and you can use fragrance oils that would seize a cold-process batch, but the resulting bar is rustic-looking, harder to swirl, and the texture is noticeably different. Melt-and-pour is the third option: a pre-made base you melt, color, scent, and pour. It sets in hours and lets you work with intricate molds, but you are working inside someone else's recipe, and the bar performance is whatever the base delivers. Melt-and-pour is the right choice when you want to learn scent, color, and mold work before taking on lye, and the wrong choice if you want to formulate.
The order most people work through is melt-and-pour first for technique, then cold process once they understand trace and gel phase, then hot process if they need to work with difficult fragrances or want a faster turnaround. There is no rule requiring that sequence, but skipping straight to cold process without understanding trace means you will misjudge when to pour and end up with layers or a seized pot.
Temperature is the variable that decides the outcome
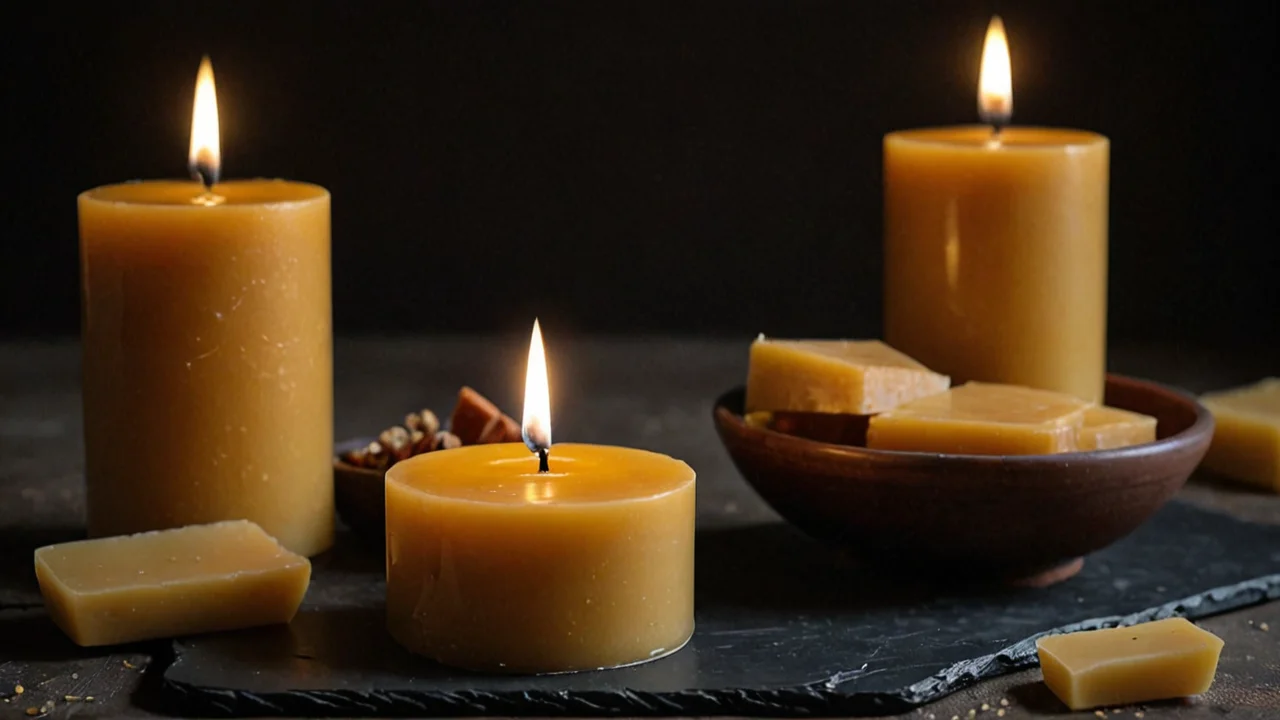
In candle making, the temperatures that matter are the wax melt temperature, the pour temperature, and the fragrance addition temperature, and each wax type has its own band. Soy waxes typically want to be poured cooler than paraffin, and pouring too hot causes frosting, sinkholes, and poor adhesion to the jar. Pouring too cool gives you a lumpy, uneven top and trapped air. The technique is to melt fully, let the wax cool to the recommended pour temperature for that specific wax, add fragrance at the temperature the wax manufacturer specifies, stir gently, and pour slowly.
Heat also carries a safety dimension that the numbers make concrete. Candle wax pools generally carry a flash point above 200 °C (above 392 °F) when no low-flash-point additives are present, per industry association guidance. A paraffin-based candle wax product's safety data sheet lists a flash point above 204 °C (400 °F) by the ASTM D-92 method, with an autoignition temperature of approximately 750 °F. Another manufacturer's sheet reports a flash point of at least 250 °C with autoflammability around 350 °C. A commercial wax candle measured by closed cup came in above 399 °F (above 190 °C).
Those numbers tell you two things. First, the wax itself is not going to flash under normal melting conditions on a double boiler or a melter set well below those temperatures. Second, the autoignition figure is the ceiling you must never approach — it is the temperature at which the wax will ignite with no flame or spark present at all. The flash point is the lowest temperature at which a liquid or wax produces enough vapor to ignite in air in the presence of an ignition source, and the autoignition temperature is where it ignites without one. Both are listed on the safety data sheet, which is the standardized manufacturer document detailing physical and chemical properties, hazards, flash point, and handling precautions for materials like waxes and fragrance oils.
Fragrance is where the risk profile changes. Industry association advice is direct: fragrances with a flash point below 60 °C should be avoided in candles because they increase candle fire risk. That is a low threshold and most candle-appropriate fragrance oils clear it comfortably, but essential oils and some inexpensive fragrance oils do not. Check the fragrance's own flash point value before you commit a whole batch. The trade-off is real — a fragrance you love the smell of may be unusable in a candle, and the only fix is to use it in soap or a room spray instead.
Soap making has its own temperature logic. Cold process wants your lye solution and oils within a reasonable band of each other so the emulsion forms predictably. Too hot and you accelerate trace past the point of swirling; too cold and you risk false trace, where the mixture looks emulsified but the hard oils are actually re-solidifying. False trace pours into the mold looking fine and separates later. You notice it when the loaf develops a pocket of liquid or a greasy film on the cut face.
Reading trace, gel phase, and the moments you cannot undo
Trace is the point at which the soap batter thickens enough that a drizzle left on the surface holds before sinking. It is not a single moment but a continuum, and where you stop determines what you can do next. Thin trace lets you pour into intricate molds and create fine swirls. Medium trace holds suspended additives like oatmeal or clay without them sinking. Thick trace is for textured tops and spoon-scooped designs, and past that point the batter is seizing and you are spooning it into the mold in lumps.
Gel phase is the exothermic stage where the saponifying soap heats itself and turns translucent, and whether you encourage or prevent it changes the bar. A gelled loaf is typically harder, glossier, and more uniform in color. An ungelled loaf is softer, more matte, and sometimes more prone to partial gel — a ring of translucent soap inside an opaque exterior that shows up when you cut. You encourage gel by insulating the mold; you prevent it by putting the mold somewhere cool or in front of a fan. Neither is wrong, but you have to pick one and be consistent, because partial gel is the outcome of doing neither.
Candles have their own point of no return: the moment you add fragrance. Add it too hot and the top notes burn off before the candle ever cures. Add it too cold and it does not bind to the wax and pools on the surface or sinks to the bottom. Stir, do not whip — whipping introduces air bubbles that show up as pitting on the finished top. The same discipline applies to color: add it at the same stage as fragrance, incorporate fully, and stop stirring once it is uniform.
Molds, containers, and how the vessel changes the technique
Cold process soap goes into silicone loaf molds, wooden molds with liners, or individual cavity molds for guest bars. Silicone releases cleanly and tolerates the heat of gel phase; wooden molds hold heat and encourage gel but need a liner or the soap bonds to the wood. Individual cavity molds are convenient but make it harder to control gel because the smaller mass cools faster. The practical rule is to match the mold to the finish you want: loaf molds for cut bars with visible swirls, cavity molds for uniform shapes where swirl design is secondary.
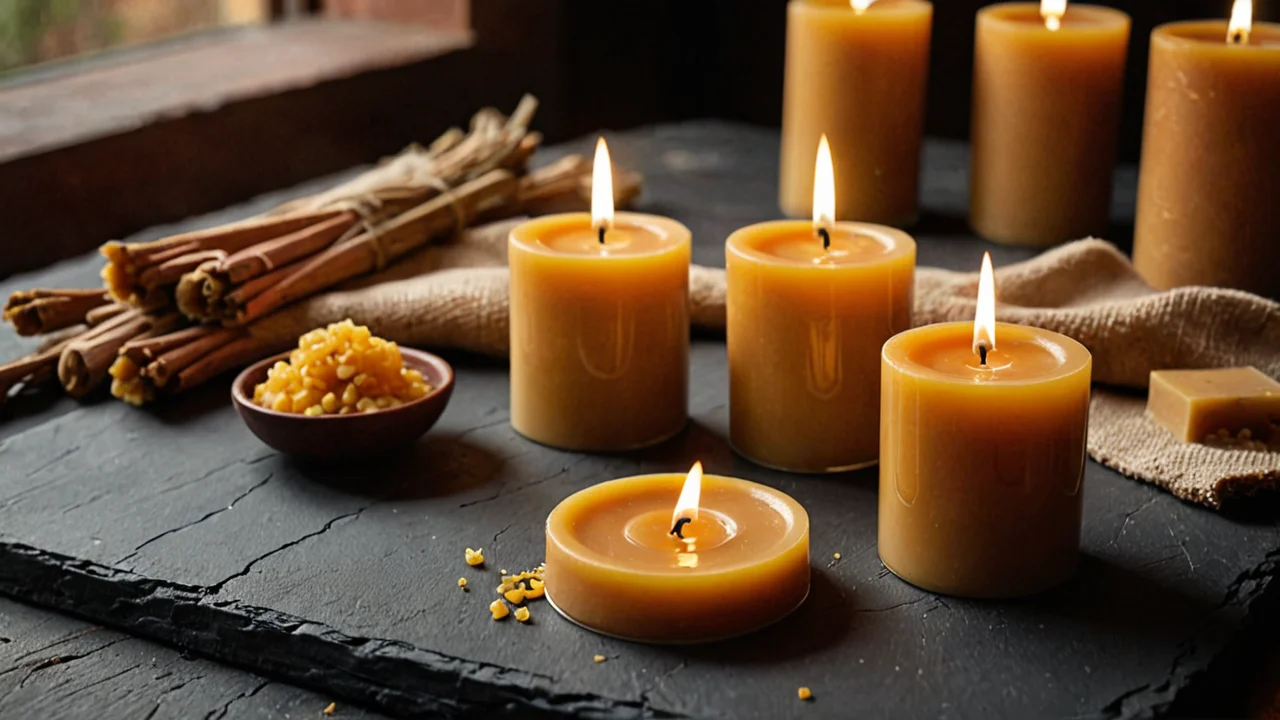
Candle containers are not interchangeable. Glass must be rated for the heat, and the wax pool temperature against the glass is why you never pour near the flash point. Metal tins conduct heat and can make the outside of the vessel uncomfortable to touch while the candle burns. The container also dictates the wick: a wide jar needs a larger wick or multiple wicks to achieve a full melt pool, and an undersized wick tunnels — it burns straight down the center and leaves a ring of unburned wax against the glass. You diagnose an undersized wick on the first burn, not the fifth.
Wick sizing is the single most common failure point in candle making, and it is not solvable by formula alone because wax type, fragrance load, colorant, and container diameter all interact. You test. You burn a test candle all the way through, note the melt pool diameter and depth at each stage, and adjust. The cost of getting this wrong is a batch of candles that look perfect and perform badly, which is worse than an ugly candle that burns well.
Color, scent, and additives: what they cost you in performance
Every additive trades something away. Fragrance oil at a higher load throws a stronger cold throw — the scent you smell unlit — but can soften the wax and interfere with the burn. Colorants can clog a wick if they are particulate rather than dye-based. In soap, clays and botanicals add texture and label appeal but accelerate trace and can discolor over time. Titanium dioxide whitens but can speckle if not dispersed properly. None of these are reasons to avoid additives; they are reasons to add one variable at a time so you know which one caused the problem.
Scent in soap is governed by the same flash-point caution as candles when you are working with fragrance oils, and some fragrance oils discolor soap to brown regardless of what colorant you use. Vanilla is the classic offender. You learn this by testing small batches, and the fix is a vanilla stabilizer or embracing the discoloration as part of the design. Accelerating fragrances are another category: they push cold process batter to thick trace within seconds of stirring, which rules out swirls. Hot process absorbs that problem because the batter is already cooked.
The honest trade-off is that a heavily scented, heavily colored bar or candle is harder to make consistently than a plain one, and the failure modes are more expensive because you lose the whole batch rather than one element of it. Beginners do better mastering a plain recipe first and adding variables one at a time.
Curing, testing, and knowing when the batch is actually finished
Cold process soap is not finished when it comes out of the mold. It needs a cure — weeks, not hours — during which water evaporates and the bar hardens. Cut it too early and it smears; cut it too late and it crumbles. The window is usually a day or two after pouring, when the loaf is firm enough to handle but still soft enough to cut cleanly. After cutting, the bars go on a rack with air circulation on all sides. Turning them periodically helps them dry evenly. You know a bar is ready when it feels hard and dry rather than waxy, and when a test lather is mild rather than sharp.
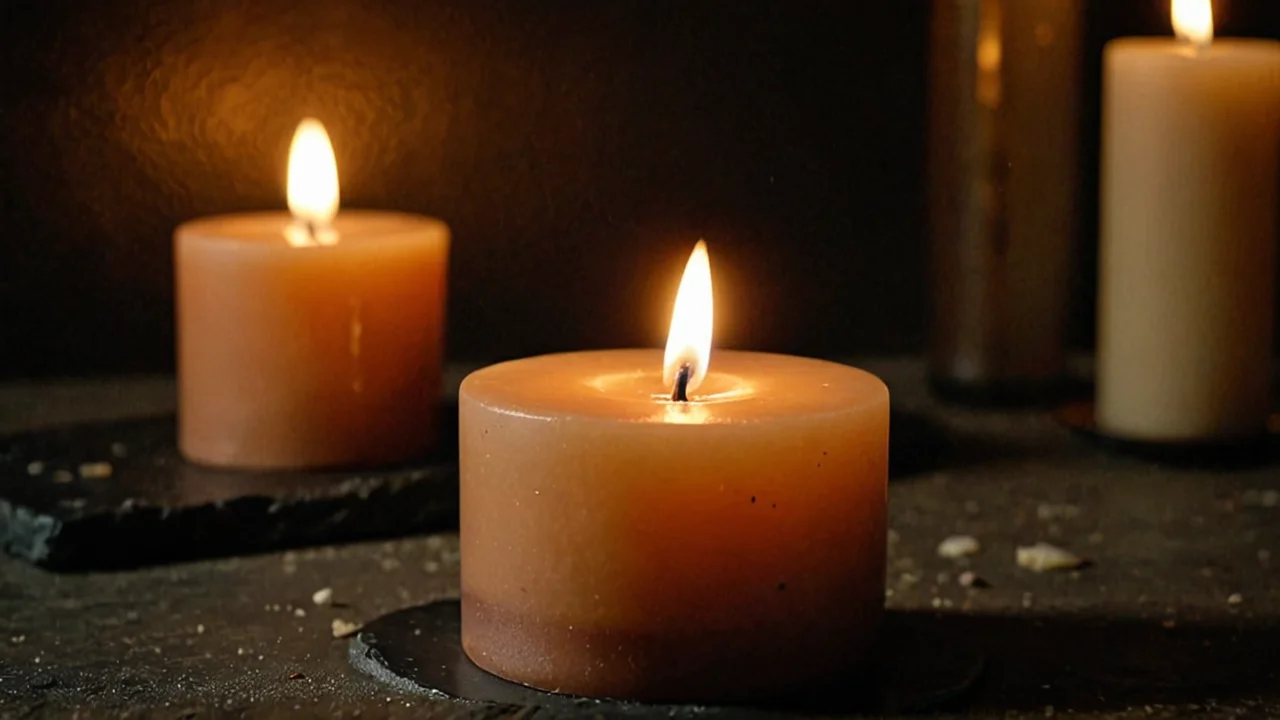
Candles need a cure too, though shorter. After pouring, the wax needs time to set and the fragrance needs time to bind, typically a few days, before you burn a test candle. Burning too soon gives you a misleading read on both hot throw and burn behavior. The test itself is a full burn cycle: light it, let it burn long enough to establish the melt pool, extinguish, trim, and repeat until the candle is spent. You are watching for tunneling, mushrooming wicks, soot on the glass, and whether the scent carries across the room or only when you lean in.
The testing discipline is where the two crafts converge. Both reward keeping a notebook: the recipe, the temperatures, the pour timing, the cure dates, and the outcome. Both punish changing three variables at once, because when the batch fails you cannot tell which change caused it. And both have a safety floor that you cannot test your way around — the flash point and autoignition figures on the safety data sheet are not suggestions, and a fragrance below 60 °C flash point does not belong in a candle no matter how well it performs in a test burn. The materials tell you their limits before you start; the technique is in staying inside them.