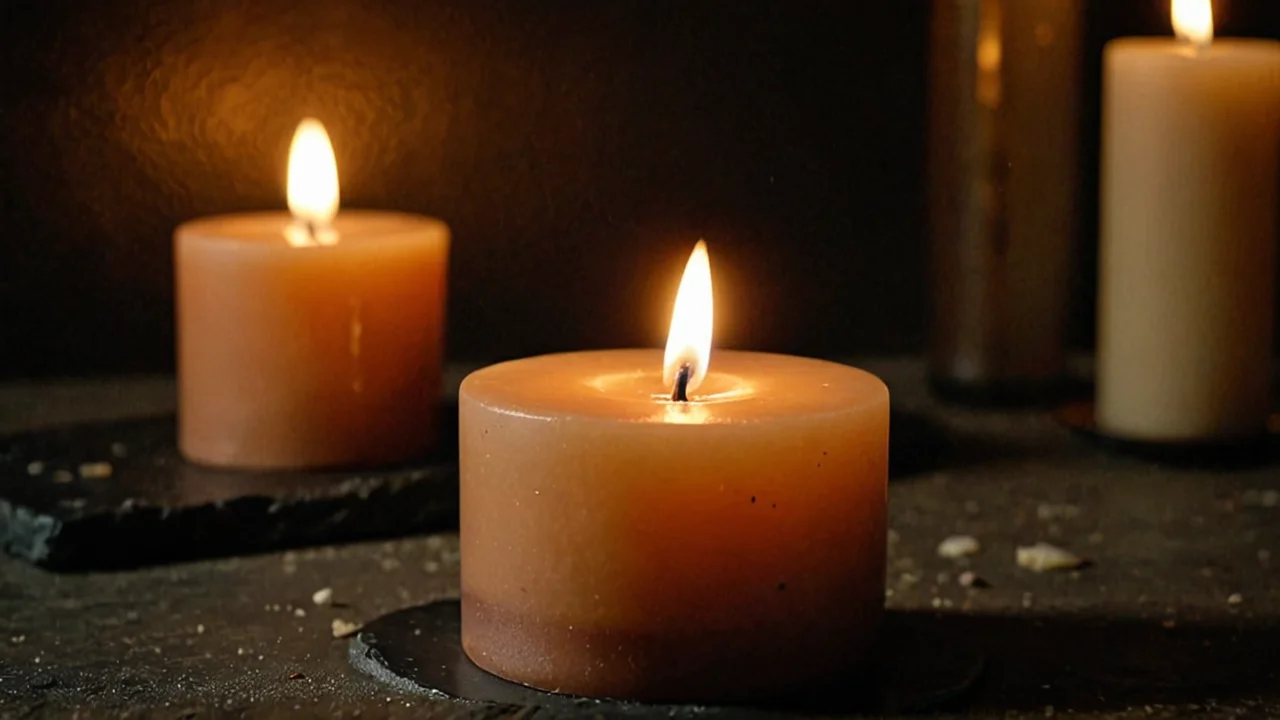
For a true beginner aiming for quality results without excessive upfront investment or time sink, I strongly recommend starting with the container candle approach using pre-mixed wax melts or specialized low-mess waxes. While pouring into vessels seems like the natural next step after melting wax, mastering container candles first allows you to understand scent throw and safety parameters—especially dealing with fragrance flash points—before tackling the complexities of full pillar or jar pours. The alternative method, dipping wicks or making pillar candles from bulk flakes, introduces too many variables concerning structural integrity and even heat distribution for a first attempt.
Mastering Safety Parameters is Non-Negotiable Before Melting Any Wax
Safety starts with understanding the fire risks of your components before you ever set up a heating bath. You must treat every liquid—the wax itself, the fragrance oil, and any additives—as a potential fuel source that needs proper flash point management.
When dealing with candle materials, safety professionals focus heavily on two key metrics: the flash point and the autoignition temperature. The flash point is defined as the lowest temperature at which a liquid or wax produces enough vapour to ignite in air in the presence of an ignition source, and this value is crucial for determining safe handling temperatures during melting. It’s important to consult the Safety Data Sheet (SDS) provided by your material suppliers; these documents detail the physical and chemical properties and list specific hazards.
For reference, while a general industry association suggests that candle wax has a flash point of >200 °C (>392 °F) when free of low-flash-point additives (as of 2024), other sources provide more detailed guidance. One manufacturer’s SDS reported a flash point ≥250 °C, and another source noted that the flash point for paraffin-based candle wax products reached >204 °C (400 °F) using the ASTM D‑92 method (as of 2022-03-28). This variation is why relying on a single general number is dangerous; you must always trust the product’s specific SDS.
The danger zone often comes from additives. Industry guidance strongly warns that fragrances with flash point <60 °C should be avoided in candles because they significantly increase candle fire risk (as of 2024). Similarly, if your wax has a listed autoflammability temperature, such as the one reported at approximately 350 °C (as of 2015-01-06), you know that even without an external flame, the material can ignite once it reaches that upper limit during heating. Always use indirect heat methods like double boilers rather than direct flames to prevent overheating and decomposition.
However, these numbers are only part of the puzzle. You also need to consider the specific method used for testing; for instance, one commercial wax candle product was measured using a closed-cup measurement that reported >399 °F (>190 °C) flash point (COC method) (as of 2011-08-23). Because different tests yield different numbers, you must cross-reference multiple SDS documents and never assume the general guidance applies to your specific product blend.
Understanding Scent Throw Requires Mastering Wax Types and Pouring Techniques
Scent throw—the ability of a finished candle to project fragrance into a room—is determined by a complex interplay between your wax type, the fragrance oil load, and how you manage the heat transfer during pouring. For beginners, using waxes optimized for containers is the most forgiving starting point.
Paraffin is often used because it provides structure and holds scent well, but natural waxes like soy or coconut are gaining popularity due to their clean burn profile and ability to be sourced in bulk flakes. When calculating your fragrance load (the percentage of oil added by weight), you must always follow the manufacturer’s recommendations for that specific wax. A common mistake is adding too much fragrance; this doesn't make it smell better, it just makes it a flammable liquid mixture, which compromises safety.
The pouring temperature is critical because it affects how the wax crystals settle and if the scent molecules remain suspended. While I cannot give you one universal number, general best practice suggests that warming the wax pool allows for optimal wetting of the container walls, reducing "sinkholes" (areas where the wax surface dips below the level of the sides). If your wax has a lower melting point, you will need to pour it at a slightly higher temperature than if it were an extremely high-melting wax. Always monitor the mixture; if smoke or acrid smells appear, remove it from the heat immediately.
When building out a candle, remember that the wick is your most crucial component for scent throw and burn safety. The correct wick size must match the diameter of your container and the type of wax you are using. A common mistake is using a wick that is too small; this results in an uneven melt pool and poor scent projection because not enough fuel is being consumed evenly across the top surface. Conversely, using a wick that is too large can create excessive soot and consume the wax too quickly.
You must also account for cure time. Even if your candle looks perfect right out of the pot, it needs time—often weeks—for the fragrance to properly bond with the cooled crystalline structure of the wax. Rushing this step means that when you light it, the scent throw will be disappointingly weak.
Essential Oils Are Not Always Interchangeable with Fragrance Oils
While many beginners assume all scented oils are equal, using essential oils in candle making requires a distinct understanding of their chemical composition and how they perform under heat. For reliable commercial products, starting with pre-blended fragrance oils is generally the safer and more consistent route.
The primary concern when mixing essential oils (EOs) into wax is that not all EOs are designed to be oil-soluble in candle waxes, or they may have flash points too low for safe handling. While you can use them, you must ensure that the total blend maintains a safety profile comparable to commercial fragrance oils.
If your desired scent is achievable through essential oils, always test small batches first. The performance of EOs can vary dramatically based on whether they are distilled or extracted and how volatile their components are. Furthermore, if you are considering making a business out of candles, using consistent, commercially designed fragrance oils from reputable suppliers will give your customers the reliability you need to build your brand around.
Another consideration is that essential oils sometimes contain natural compounds that can react differently with specific waxes (especially certain vegetable waxes) than synthetic fragrance oils. This unpredictability means that even if an EO smells wonderful when poured, it might not 'anchor' itself into the wax matrix as effectively over time, resulting in weak scent throw compared to a specialized oil.
Keep in mind that while some people are very passionate about the natural aspects of essential oils, commercial candles rely on fragrance oils because they have undergone stabilization and blending processes specifically designed to withstand the heat cycle (melting, cooling, burning) without breaking down or losing their aromatic profile. Stick to tested fragrance oils until you are experienced with scent stability.
Starting a Candle Making Business Requires Excellent Record Keeping and Safety Protocols
If your goal is profitability rather than just hobby enjoyment, establishing solid operational procedures and maintaining rigorous safety compliance from day one isn't optional; it’s foundational to legal operation and reputation. The initial investment covers everything from bulk materials to specialized safety equipment.
To start a candle making business, you must first determine your niche—are you focusing on highly scented luxury candles, natural soy pillars, or unique container designs? This decision dictates which wax type (and thus which sourcing costs) will be most appropriate. You need more than just the materials; you require reliable scales for precise measurements and heat-resistant tools that can handle temperatures reaching 250 °C.
The financial side involves calculating your Cost of Goods Sold (COGS). This includes not only the cost of wax and fragrance oil but also the wick, the jar/container, and even the label printing costs. A beginner must track every expense to set a profitable retail price point that accounts for labor. You might find that while materials seem inexpensive in bulk, the time spent troubleshooting failed batches or dealing with poor scent throw can erode profit margins quickly.
Operationally, you need dedicated workspace ventilation and proper storage away from heat sources. When you are scaling up, safety protocols must become highly formalized. All staff (even if it's just you) must be trained on the flash point risks. You cannot rely on general guidance; your business documentation needs to carry specific SDS sheets for every ingredient used.
Remember that perceived quality is often tied directly to consistency. If one batch has a perfect melt pool and the next does not, customers will notice the inconsistency before they notice anything else. Therefore, investing in standardized equipment and following recipes with precise measurements—especially regarding wick sizing relative to container diameter—is the best way to ensure repeatable, high-quality output.
The Container Vessel Dictates Your Wax Choice and Structural Constraints
When you are working within a pre-made vessel, that container is not just a holder; it is an integral part of your product's chemistry and structure. The material—glass, ceramic, tin—affects both the heat retention and how easily the wax adheres to it.
Some containers have complex geometries (e.g., flared rims or deep indentations) that can act as wick traps or uneven heat sinks, leading to inconsistent burning performance. When choosing a vessel, look for materials that are uniform in their cross-section and that provide adequate surface area for the melt pool to develop smoothly.
The relationship between the container size, the wax type, and the optimal fragrance load is complex. A very narrow or deeply set cup may require a different wick calibration than a wide, shallow bowl, even if both are made of glass. The heat must be able to travel evenly from the melt pool up to the edges without overheating any single point in the vessel.
Furthermore, you must consider the thermal shock resistance of your container. If your wax is poured into a cold ceramic jar, the rapid temperature change can cause the jar to crack or develop hairline fissures. Allowing the mixture to cool gradually and letting the final curing process take place over several days mitigates this risk.
Finally, if you are experimenting with additives like colorants or decorative pours (e.g., glitter, botanicals), always research how those materials interact chemically with your chosen wax type. Some inclusions can accelerate crystal formation in undesirable ways, leading to a final product that looks beautiful but has poor structural integrity when burned.
Melting Wax Safely: Equipment, Temperatures, and What Goes Wrong
Use a double boiler or a dedicated wax melter, never a saucepan directly on a burner, and keep a thermometer in the wax at all times. The number that matters most on your SDS is the autoignition temperature, because that is the ceiling you must never approach. One manufacturer lists autoflammability at approximately 350 °C, and a paraffin wax SDS lists autoignition at approximately 750 °F. Those are not targets — they are the point at which wax can ignite with no flame or spark present, which is why you heat gently and watch the thermometer rather than the clock.
Water in the bottom pot is the cheap insurance. If you walk away and the pot runs dry, the wax temperature climbs fast and you have no warning except smell. You will notice overheating before ignition: the wax yellows, then smokes, then gives off an acrid, sharp odor. Remove it from the heat at the first wisp of smoke and let it cool in place — do not move a smoking pot across the room. Keep a lid nearby that fits the melting vessel, and never use water to fight a wax fire.
The trade-off is speed. A double boiler is slower than a direct burner and slower than a microwave, and that slowness is the point. If you scale up to a production melter, buy one with a calibrated dial and verify it against your thermometer, because a dial that reads low by a few degrees is how people overheat batches without knowing it.
Reading an SDS Before You Buy, Not After
Pull the SDS for every wax and every fragrance before the first pour, and check two lines: flash point and autoignition. For wax, expect flash points above 200 °C per general industry guidance, with product-specific sheets reporting higher — one paraffin product at >204 °C by ASTM D-92, one manufacturer at ≥250 °C, and a commercial wax candle measured by closed cup at >399 °F. If a supplier cannot produce an SDS on request, that is your answer about the supplier.
Fragrance is where beginners get burned figuratively and literally. Industry guidance says to avoid fragrances with a flash point below 60 °C because they raise fire risk in candles. A low flash point does not mean the oil will burst into flame on your counter, but it does mean the oil flashes at temperatures your melted wax can plausibly reach, so the margin is gone. Ask for the flash point before ordering, keep the SDS in a binder, and re-check it when a supplier reformulates — the same scent name can ship with a different flash point after a recipe change.
One limit worth knowing: flash point methods differ, so a closed-cup number and an open-cup number for similar products are not directly comparable. Compare like with like, and treat the lower number as the one that governs your handling.