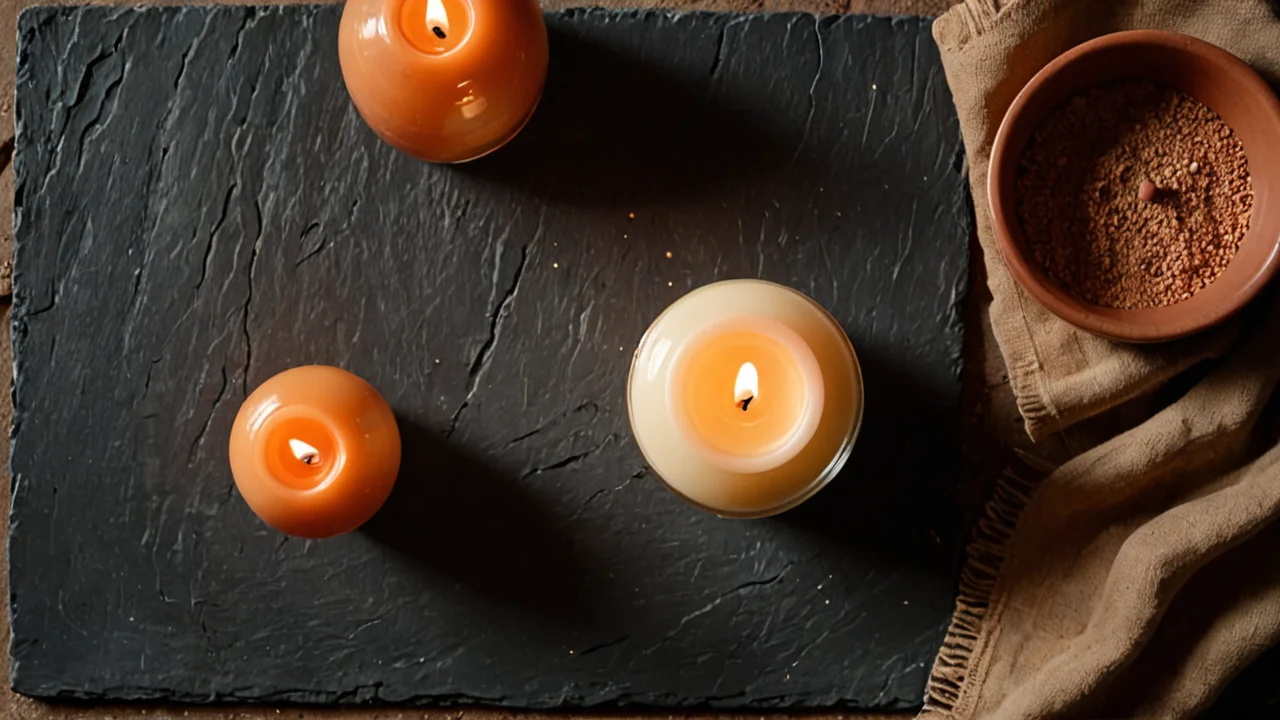
“Can I use essential oils in candle making?”
The short answer is yes, but you must understand that using them requires extreme caution regarding their flash point. While many wonderful scents come from natural sources, some essential oils have a low enough flash point—specifically, those below 60 °C—that they significantly increase the fire risk of your candle and should be avoided when performing basic techniques at home.
Gather Your Basic Equipment
To start making candles, you need more than just wax and wicks; proper equipment is essential for achieving a clean burn and reliable structure. A simple setup includes pouring pots (like glass jars or metal containers), a dedicated heat source (a double boiler setup is safest), various types of wax, fragrance oils/essential oils, wick holders, thermometers, and measuring cups.
The foundation of your materials lies in selecting the correct base wax for your intended candle type. Paraffin-based products are common, offering a solid structure that can hold strong scents, but their performance varies greatly depending on the specific grade and additives used. If you are aiming for scented pillars or jar candles, understanding the differences between soy, coconut, and paraffin waxes is critical because each wax has different melting points and rates of crystallization.
Before mixing anything, always consult the Safety Data Sheet (SDS) provided by your wax supplier. This standardized document details not only handling precautions but also crucial chemical properties, including flash point and autoignition temperature. For example, while a general guidance for candle waxes suggests a flash point of >200 °C (>392 °F) as of 2024, relying solely on this average figure is insufficient; the SDS for your specific blend dictates the necessary safety protocols.
The equipment you choose affects the final product's longevity and appearance. Using a dedicated double boiler setup instead of direct heat prevents thermal degradation of both the wax and the fragrance oil—a common beginner mistake that results in weak scent throw or compromised structural integrity. Always use thermometers to accurately measure temperatures; guessing when your wax reaches its peak pouring temperature is a recipe for inconsistency.
However, remember that even having all the right tools doesn't guarantee safety or success. Some specialized equipment, such as professional dipping stations or highly precise mixing machinery, are prohibitively expensive and unnecessary for starting out. Furthermore, while reading an SDS is mandatory, it only provides chemical data; it cannot replace physical knowledge about how your specific home setup performs over time.
Melt the Wax Safely
The most critical step when melting wax is managing heat transfer to prevent dangerous overheating and keep the wax from degrading. Always use a double boiler method, where the heating element heats water, which in turn gently heats a separate container holding your candle wax. Never attempt to melt wax directly over an open flame or high-heat burner.
When melting paraffin-based products, you are dealing with materials that have specific thermal limits. While some manufacturer safety data sheets report flash points of ≥250 °C (as of 2015-01-06), it is always best practice to monitor your temperature closely and never exceed the recommended maximum working temperature for your wax type. If you are using a commercial wax candle product, be aware that measurements have been taken showing flash points can exceed >399 °F (>190 °C) (COC method) (as of 2011-08-23), but these figures relate to testing conditions and should not dictate your home heating practices.
Keep in mind the difference between a flash point and an autoignition temperature. The flash point is the lowest temperature at which the wax vapor produces enough vapor to ignite in air in the presence of an ignition source—this tells you when not to exceed certain temperatures. The autoignition temperature, meanwhile, is the higher limit: the temperature at which the material will catch fire even without a flame or spark, and this value helps set your upper safe heating boundary.
The biggest trap beginners fall into is overheating the wax before adding fragrance. If you exceed the ideal melting point—often cited around 85°C to 95°C depending on the wax type—you risk 'scorching' the wax, which affects its ability to hold scent and can create a gummy residue that makes pouring difficult.
Conversely, heating too slowly or leaving the pot exposed to cool drafts can cause localized cooling pockets in the wax base. This uneven temperature gradient leads to poor structural integrity when it solidifies, causing sinks or uneven surfaces on the final candle.
Add Scents and Essential Oils
Incorporating fragrance oils or essential oils is where many people get tripped up, often mistakenly believing that because they are natural, they pose no fire risk. While scent addition is fun, it must be treated as a precise chemical process governed by temperature and ratios.
Regarding essential oils specifically, while they provide beautiful aromas, you must check their individual flash points. If your chosen blend of natural scents has component parts with flash point below 60 °C (as of 2024), even if the overall scent smells wonderful, it increases the fire risk exponentially. This is non-negotiable when working safely at home.
When adding fragrance oils or essential oils, never pour them in until the wax has cooled to its 'pour temperature.' Pouring them into scorching hot wax can cause the volatile aromatic compounds to evaporate too quickly, leading to a weak scent throw. The general rule of thumb is to cool your wax base down slightly before adding any liquid additive.
The proper technique involves cooling the melted wax to the manufacturer-recommended temperature for fragrance incorporation, weighing the desired amount of oil (typically measured as a percentage of the total weight of the wax), and then gently stirring it into the wax in a slow, consistent figure-eight pattern. This gentle agitation ensures that the oil molecules are evenly suspended throughout the wax matrix without introducing too much air, which can lead to crystal formation.
A common trade-off beginners face is balancing scent strength with candle quality. Using too high a fragrance load—while smelling amazing right out of the jar—can sometimes compromise the structural stability or burn performance of the candle. Always start at 60% of the maximum recommended oil load provided by your supplier and increase only if necessary.
Figure Out Your Business Model
The question of whether candle making is profitable requires looking beyond just the cost of materials; you must account for labor, time investment, and market positioning. Yes, it can be profitable, but success depends entirely on treating it as a niche artisan product rather than mass-market commodity.
When calculating profitability, your main costs are raw materials (wax, wicks, vessels), additives (fragrance oils/essential oils), and overhead (electricity, containers, labeling). A good initial pricing model accounts for the cost of goods sold plus a markup that covers your labor time. Do not undervalue your work simply because it can be done at home.
Your competitive advantage must come from unique scent profiles or vessel sourcing, since basic techniques—melting wax and dipping wicks—are widely available online. Consider specializing in waxes, such as coconut-soy blends, for specific aesthetic outcomes (like a matte finish) that competitors might ignore. This specialization allows you to justify higher price points.
When establishing your business, documentation is key; keeping detailed records of material costs and time spent per candle makes it possible to accurately calculate the true profit margin on every item sold. For example, if 10 pounds of wax yields 20 large jars, you must divide the cost of all components by 20 to get a precise raw material cost per unit.
The biggest mistake is failing to account for market saturation. If you only sell basic vanilla and pine scents in generic glass containers, you are competing directly with highly established brands. To succeed, your "basic technique" must be paired with an elevated branding narrative—telling the story of the wax source, the local nature of the scent, or the vessel's history.
Prioritize Safety Above All Else
Safety is not a step in the process; it is the foundational principle that dictates every other technique you use. Never take shortcuts when handling heat sources or flammable materials. The most immediate and dangerous hazard in candle making remains overheating and improper flame management during testing.
Because both wax and fragrance components have measurable flash points, understanding them is essential for safe operation. If a Safety Data Sheet (SDS) indicates a material has low flash point guidance (like those below 60 °C), it must be handled with extreme care and potentially requires an open-air workspace away from other ignition sources.
When dealing with the melting process, never leave wax unattended. If you need to step away for any reason, turn off the heat source completely and wait until the wax has cooled enough to handle safely before proceeding. Use proper protective gear—long sleeves, gloves, and eye protection—even when performing simple mixing tasks.
Another critical safety consideration is wick management. Wicks must be appropriately sized for the container diameter; an under-wicked candle will tunnel and burn unevenly, while an oversized wick can create a flare that is difficult to extinguish and poses a hazard. Always follow manufacturer recommendations regarding wick size relative to your vessel’s width.
Lastly, remember that basic techniques are inherently risky because they involve heat, open flames, and flammable liquids. Never leave finished candles unattended when burning them, and always place them on stable, non-flammable surfaces like ceramic tiles or metal trays. While the science of candle making is fascinating, your personal safety must always be the priority over achieving the perfect scent throw.
Read the SDS Before You Buy the Wax, Not After
Pull the Safety Data Sheet for the exact wax blend and the exact fragrance lot before you pay for either, and read four fields: flash point, autoignition temperature, recommended melt temperature, and recommended fragrance addition temperature. The flash point tells you the temperature at which enough vapour is present to ignite given a spark or flame; the autoignition temperature tells you the ceiling above which the material can light itself with no ignition source at all. Those are two different numbers doing two different jobs, and a supplier who lists only one is telling you they haven't thought hard about home melters.
Compare what the sheets actually say and you'll see why a single general figure is useless for your pot. One paraffin-based product sheet reports a flash point above 204 °C (400 °F) on the ASTM D-92 method, with an autoignition temperature around 750 °F. Another manufacturer's sheet for candle wax gives a flash point of ≥250 °C and autoflammability around 350 °C. A closed-cup measurement on a commercial wax candle product came in above 399 °F (over 190 °C). General industry guidance puts wax pools without low-flash additives above 200 °C (392 °F). Spread that wide and you can see the problem: a generic "wax is safe to 200 °C" rule is not a rule, it's a rumour. Your blend's sheet governs your double boiler.
The fragrance sheet is where the real filtering happens. Guidance from the industry association is blunt: fragrances with a flash point below 60 °C should be avoided in candles because they raise fire risk. So when you're ordering, sort the catalogue by flash point and reject the low ones before you fall in love with a scent name. A citrus or top-note-heavy oil is the usual offender. If a supplier won't publish a flash point per fragrance, buy elsewhere; you cannot assess what you cannot see. Keep the sheets in a folder with the batch date, because formulators reformulate and the sheet that came with last year's bottle may not describe this year's.
Set Your Melt Ceiling From the Sheet, Then Stay Under It
Write your maximum melt temperature on a sticky note and put it on the hood above the double boiler before you turn anything on. Take the lower of two numbers: the wax maker's recommended working temperature and a comfortable margin below the autoignition figure on the sheet. That margin is not paranoia, it's the difference between a controlled melt and a pot of vapour you didn't plan for. The autoignition value is the upper limit of safe heating; treat it as a fence, not a target.
Run the double boiler with water in the lower pot and never let it boil dry, because a dry pot climbs in temperature fast and the wax above it has no way to shed heat. Clip a thermometer into the wax, not the water, and read it every few minutes rather than trusting the dial on the hob. If you're melting a paraffin-based product, remember the sheet's flash point is a lab figure under test conditions, not a promise about your kitchen; the number exists so you keep the melt well below it, not so you can creep up to it.
Two failure modes to watch for. If the wax starts smoking or you catch a sharp acrid smell, you're already past the useful range: kill the heat, move the pot off the burner, and don't stir it up into vapour. If the surface looks hazy or the wax develops a skin while you're still trying to melt lumps, you've got uneven heat and cold spots, which shows up later as sinks and craters in the set candle. Stir slowly and steadily, keep the water at a gentle simmer, and add wax in smaller pieces rather than one block so the melt stays even.
The trade-off is time. A cautious double boiler melt is slower than a dedicated melter or a microwave, and slower still if you're working in a cold room. That cost is worth paying when you're learning, because the moment you rush the heat is the moment you stop being able to predict what's in the pot. Once you know your wax and your setup, you can speed up; until then, the thermometer earns its place.